Branding methods
The branding guide
Not every method works on every product. The right choice comes down to material, artwork, colour, and quantity — and getting it wrong costs time. This guide covers the methods we use most, so your brief is ready before we speak.
Before you send artwork
What every method needs
Vector for cut & etched methods
Screen printing, pad printing, laser engraving, debossing and cut vinyl all need vector artwork (AI, EPS, PDF, SVG, or CDR) with fonts converted to outlines. Full-colour digital methods can work from a high-resolution raster file instead.
Pantone matching is a separate step
Spot-colour methods (screen, pad print) quote per Pantone (PMS) colour matched. Full-colour methods include unlimited colours but only approximate a PMS match through CMYK simulation.
A proof comes before production
Every order gets a digital proof showing placement, size, and colour for written sign-off. Production starts once you approve, and so does the lead-time clock. Sign off early, and it ships sooner.
Flat fabric & flat goods, high volume
Screen Printing
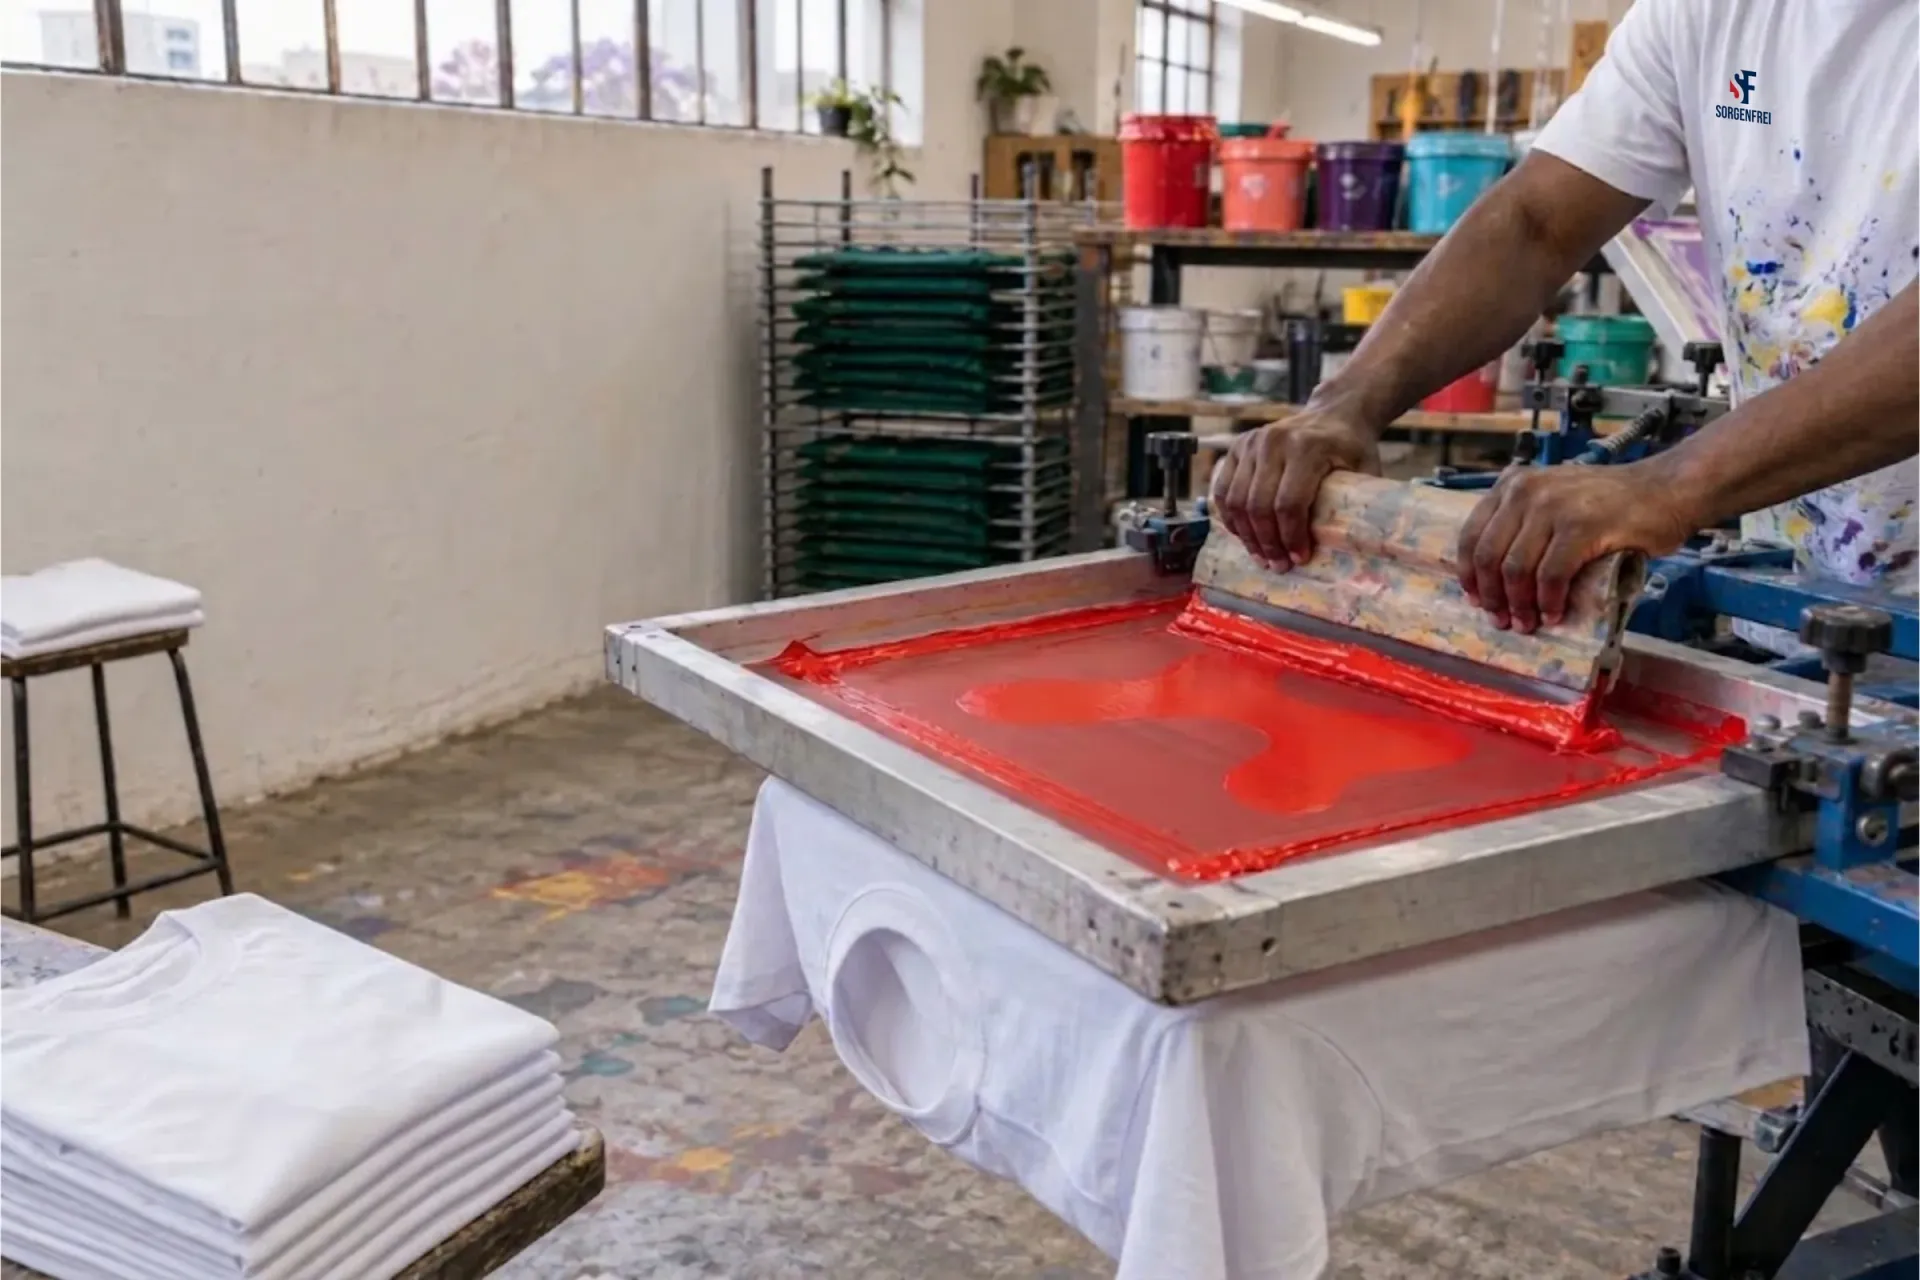
Ink is pushed through a fine mesh screen — one screen per spot colour, per print position. It is the workhorse of garment decoration: simple, durable, and the cheapest method at real volume.
- Best for
- Flat goods and flat fabric — T-shirts, golf shirts, tote bags, banners. Best suited to bold, simple artwork rather than fine detail or photographic imagery.
- Colour & artwork
- Spot (Pantone-matched) colours only — each extra colour needs its own screen and its own setup charge. Dark garments need an extra white "underbase" screen before the colours print on top. Gradients and photorealistic art render poorly; halftones can simulate a gradient but are a specialist job. Vector artwork (fonts converted to outlines) is essential. Each spot colour is matched to a Pantone (PMS) reference — colour-matching is billed as its own step, separate from the print itself.
- Typical positions
- Left/right chest, full front, full back, and sleeve — the standard garment positions.
- Lead time & MOQ
- Typical minimum order is 50–100 pieces (some runs from 10+); unit cost drops as quantity rises. Setup is charged per screen/colour and is usually a once-off per artwork — expect it to repeat if the design or colour count changes on a reorder.
See it in action
Small, curved hard goods
Pad Printing
A soft silicone pad lifts ink from an etched plate and presses it onto the product — the method built for awkward 3D shapes that a flat screen or transfer simply cannot reach.
- Best for
- Pens, USB drives, keyrings, and other small or curved hard goods, held in a shape-specific jig during printing.
- Colour & artwork
- Spot colours, typically up to around four, each requiring its own pass with careful registration between colours. Vector artwork, kept bold and simple — single-colour logo versions, wordmarks, and short taglines work well; fine detail and small text are lost.
- Typical positions
- Small imprint areas defined by the product itself — a pen barrel strip, a keyring face.
- Lead time & MOQ
- Setup covers the printing plate and the product-specific jig, so it is priced per shape and per colour. MOQ is generally low to moderate and depends on the product.
See it in action
Full colour, any fabric, small runs
Digital Printing & DTF
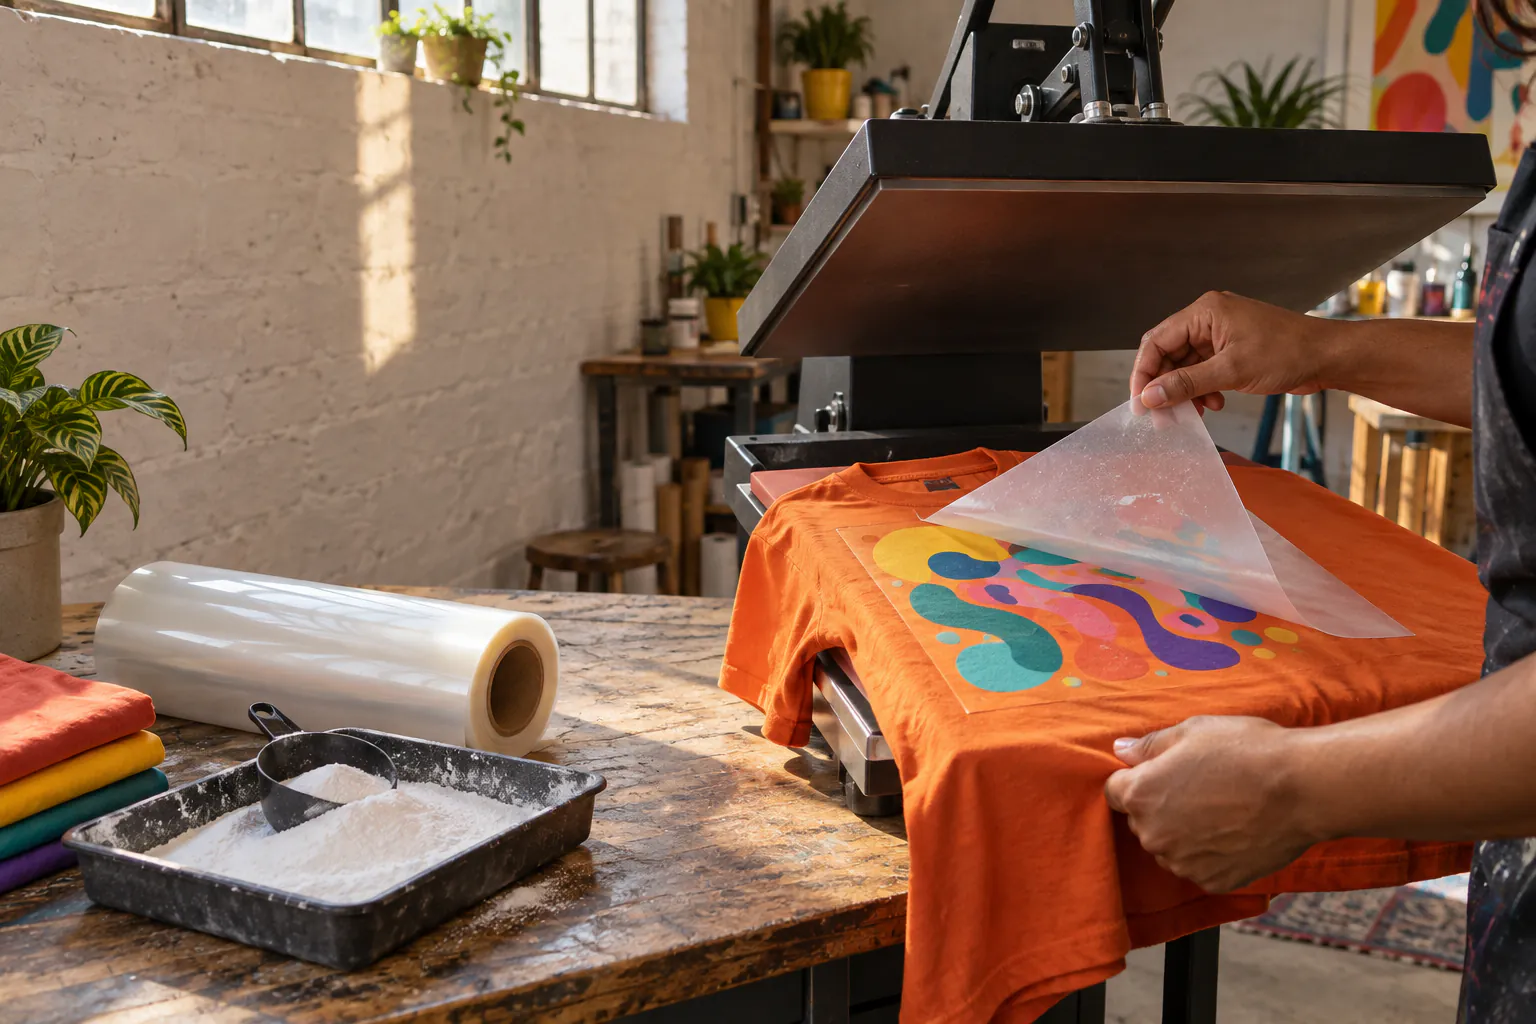
Direct-to-film (DTF) prints full-colour artwork plus a white layer onto film with a powder adhesive, then heat-presses it onto the product — no screens, almost no setup, and it works on nearly anything.
- Best for
- The most substrate-agnostic full-colour fabric method available: cotton, polyester, blends, nylon, light or dark fabric, and even some non-textile items.
- Colour & artwork
- Unlimited colours at no extra colour charge — genuinely full colour, including gradients and photographic artwork. High-resolution raster artwork (300dpi at the size it will print) is accepted directly — no vectorising required, though vector art is always welcome.
- Typical positions
- Any standard garment position — chest, front, back, sleeve.
- Lead time & MOQ
- Little to no setup charge; minimum orders are low, often 10–25 pieces, with some suppliers accepting a single unit.
See it in action
Photorealistic prints on cotton
Direct-to-Garment (DTG)
An inkjet printer applies ink straight into the garment’s fibres — effectively printing a photograph onto fabric, with no film or transfer step in between.
- Best for
- Best on 100% cotton (blends are possible); ideal where the artwork itself is photorealistic or highly detailed.
- Colour & artwork
- Full colour, photorealistic — no practical colour-count limit. High-resolution raster artwork, same as any full-colour digital print.
- Typical positions
- Standard garment positions — chest, front, back.
- Lead time & MOQ
- Often no minimum quantity and no setup fee at all, which makes it well suited to single pieces or samples — but per-unit cost is higher than screen print at real volume.
Premium, durable, thread-stitched
Embroidery
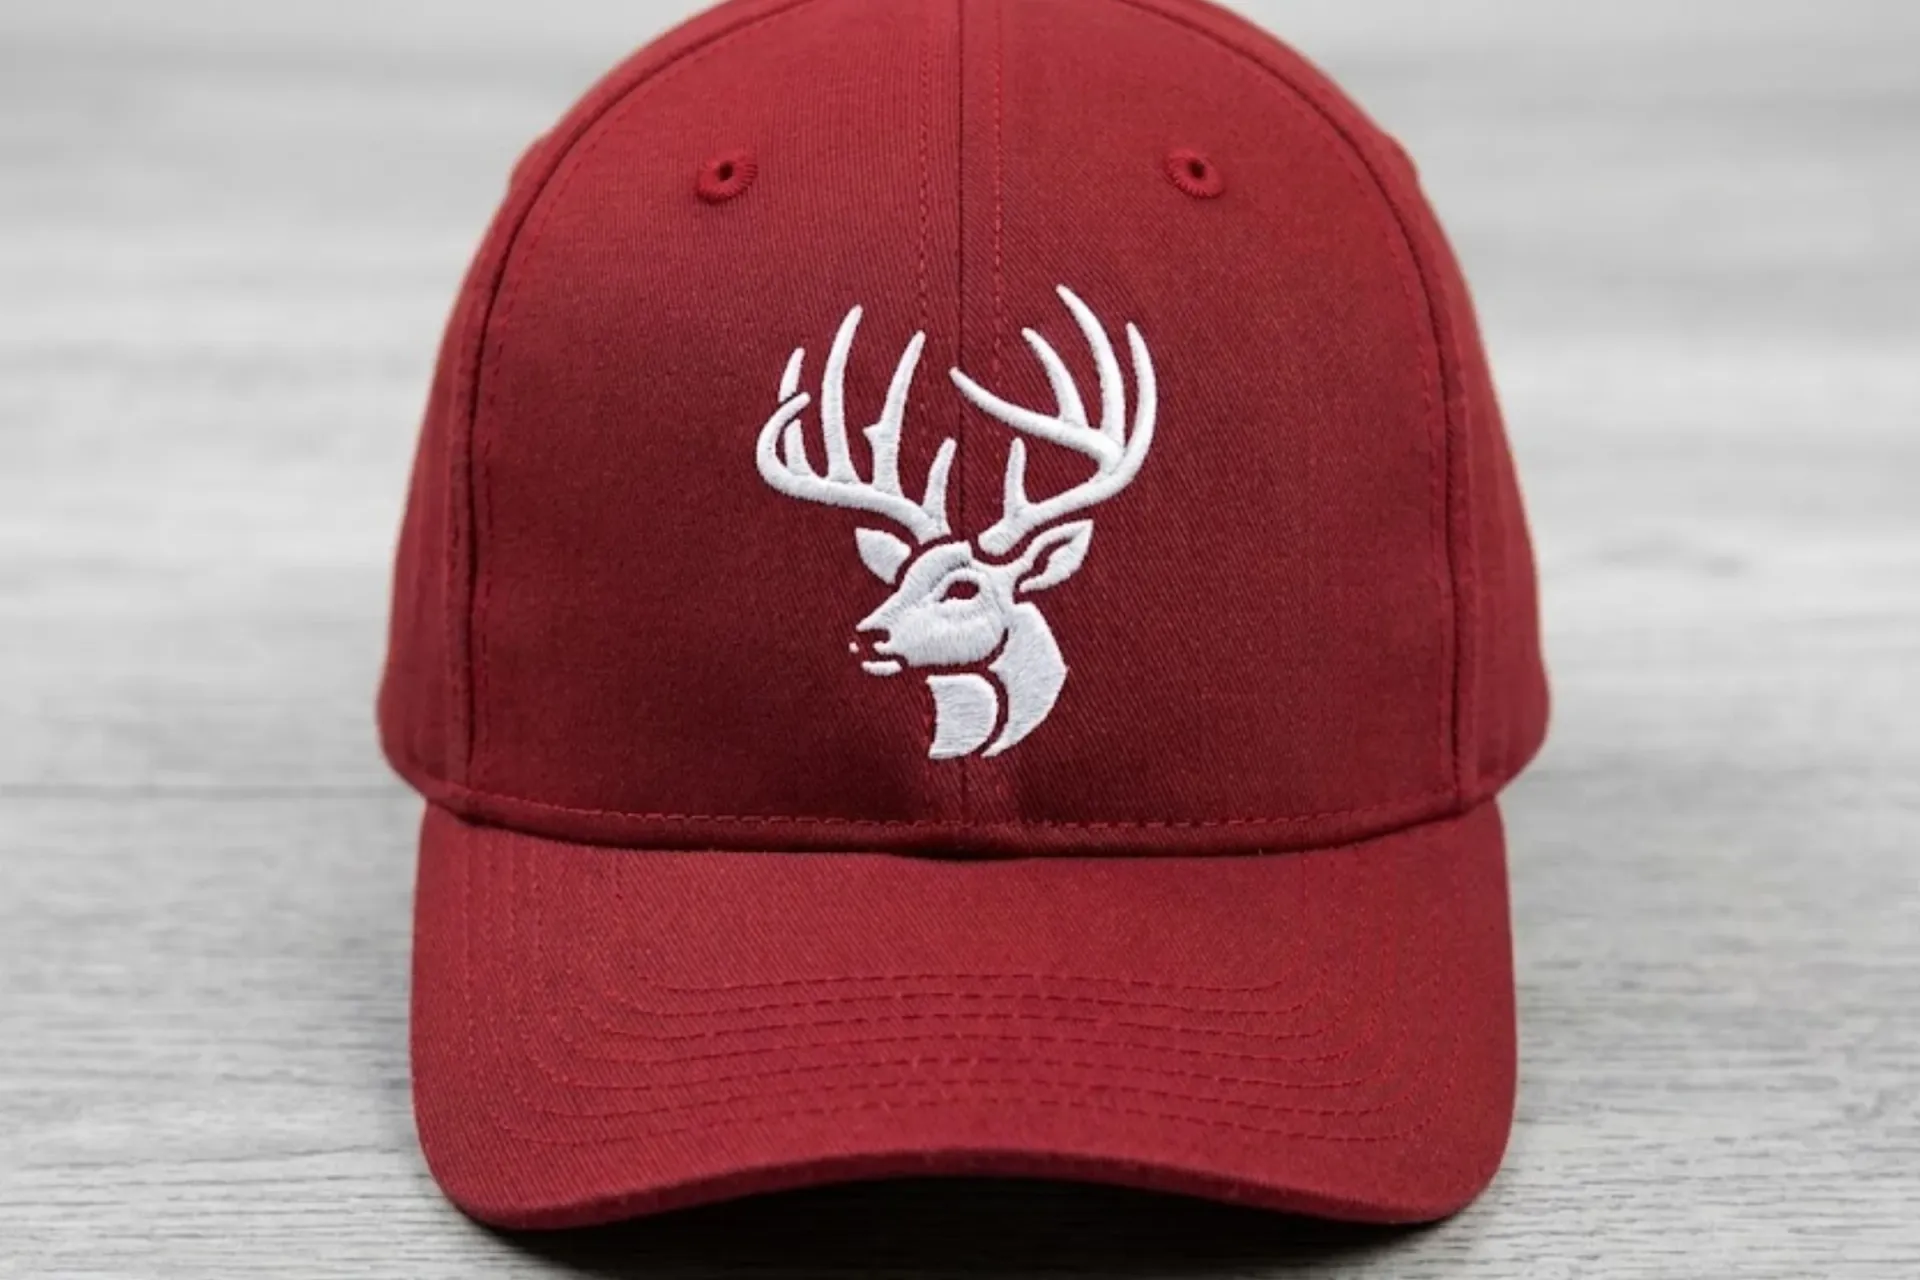
Your logo is stitched in thread by machine, from a digitised stitch file — the classic finish for corporate clothing: tactile, durable, and unmistakably premium.
- Best for
- Polos, caps, jackets and other outerwear, and structured bags — anywhere a raised, stitched finish reads as quality.
- Colour & artwork
- Multiple thread colours are included at no extra colour charge, unlike the print methods above — the cost driver here is stitch count, not colour count. Your logo is converted to a machine stitch file by a once-off digitising step; that file is kept on file and reused for every reorder, so digitising is a one-time cost, not a recurring one. Very fine detail and small text lose definition when stitched.
- Typical positions
- Left or right chest is the corporate default (roughly 4,000–8,000 stitches for a typical logo); cap fronts and jacket backs are also common.
- Lead time & MOQ
- MOQ is often as low as one piece, since the process is digital-file driven rather than screen-based.
See it in action
Versatile, fast, and Sorgenfrei’s signage method
Heat Transfer & Vinyl
Two related techniques: a full-colour design printed onto transfer film (including DTF above) and then heat-pressed on; or solid-colour vinyl that is cut, weeded, and heat-pressed — the same cut-vinyl technique that carries through to vehicle and window signage.
- Best for
- Printed transfers suit most fabrics and quick-turnaround runs. Cut vinyl is the go-to for names, numbers, and personalisation on garments, and — scaled up — for signage: vehicle branding, windows, walls, and display boards, which is quoted by area rather than per unit.
- Colour & artwork
- Printed transfers: full colour. Cut vinyl: one solid colour per layer, so a multi-colour cut design needs multiple layers. Vector artwork for cut vinyl; high-resolution raster for printed transfers.
- Typical positions
- Any garment position for apparel; sized to the surface for signage.
- Lead time & MOQ
- Generally quick turnaround with modest setup — the trade-off is that transfers can crack or fade with repeated washing or heat over the life of the garment.
See it in action
All-over prints, polyester only
Sublimation
Dye is converted to a gas under heat and bonds directly into the fibres of the substrate — the print becomes part of the material itself, with zero raised texture ("no hand").
- Best for
- Only on polyester — ideally 100%, at minimum around 65% — and only on white or light-coloured substrates; it will not work on cotton or on dark fabric. Also used on polymer-coated hard goods such as mugs. Its signature strength is genuine all-over, edge-to-edge printing.
- Colour & artwork
- Full colour, photographic, with no colour-count limit. High-resolution raster artwork, prepared full-bleed for all-over designs.
- Typical positions
- All-over or large panel prints on apparel; full-wrap prints on drinkware.
- Lead time & MOQ
- Typical minimum order is around 25–50 pieces.
See it in action
Permanent, premium, metal & wood
Laser Engraving
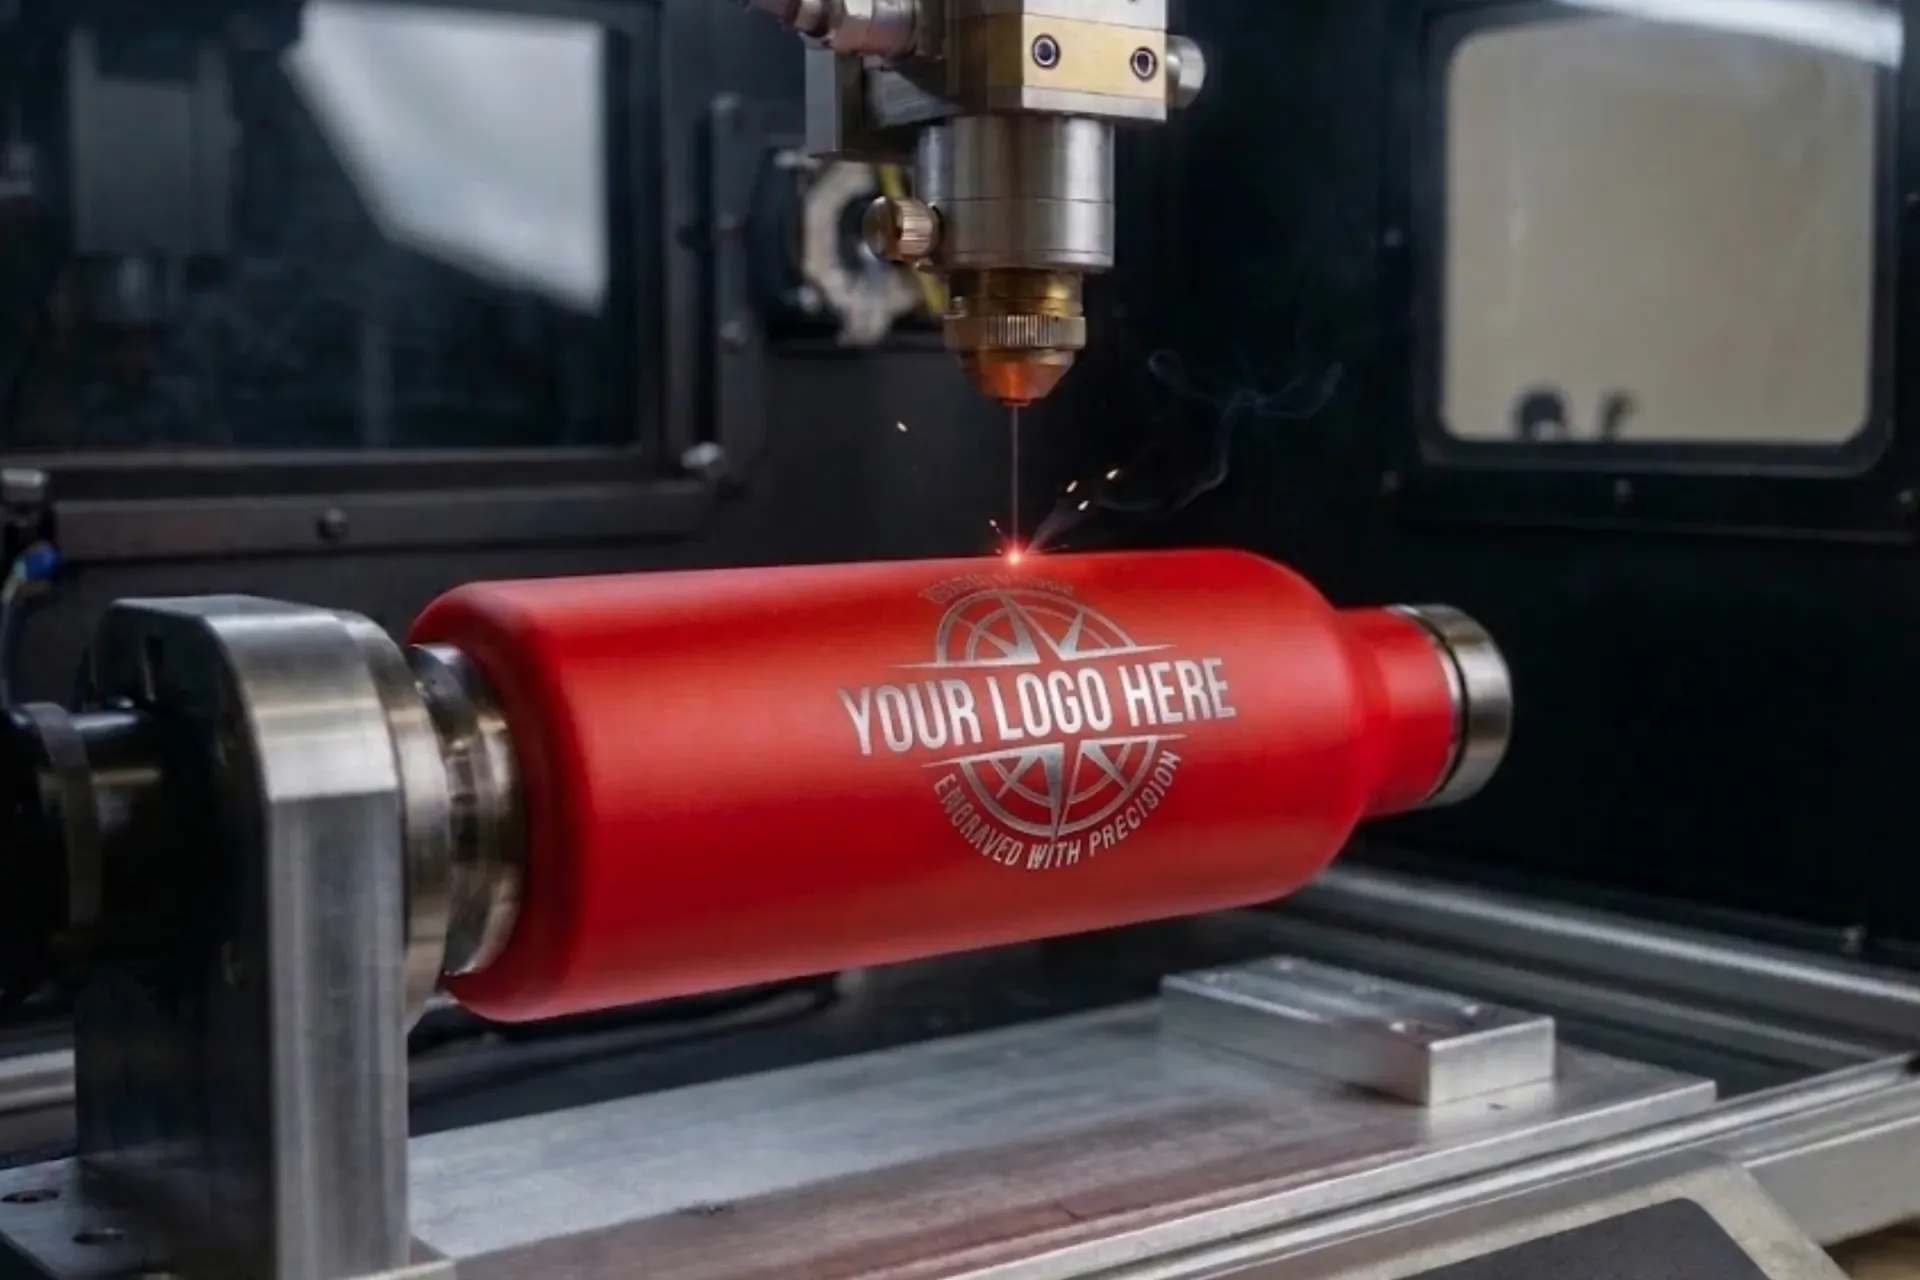
A laser burns or etches the design directly into the surface of the product itself — nothing is added on top, so there is nothing to wear off, fade, or wash out.
- Best for
- Metal, bamboo and wood, glass — almost any material that is not heat-sensitive. The natural choice for executive gifts, drinkware, and premium pens.
- Colour & artwork
- None — engraving is monochrome by nature, exposing the substrate or a coating beneath it rather than adding ink or thread. Vector artwork is essential — the laser follows clean paths, not raster pixels.
- Typical positions
- A product-specific engraving panel, defined by the item itself.
- Lead time & MOQ
- Setup (translating the artwork into a laser program) tends to cost more than an ink-based method, but the result is permanent — no wash-out or fade risk to plan around on a reorder.
Tactile, colourless, leather & paper
Debossing & Embossing
A custom metal die presses the design into the material (deboss) or raises it up and out (emboss) — a purely tactile, sculptural finish with no ink involved.
- Best for
- Leather and PU notebook and folder covers, and similar paper or leatherette gift goods.
- Colour & artwork
- None by default — the finish is texture, not colour. Foil stamping can add a metallic colour using a similar die process, as an optional extra. Vector artwork is required to cut the die.
- Typical positions
- Cover panels and spines are the typical placement.
- Lead time & MOQ
- The custom die is the (moderate) setup cost — a once-off investment per design that then carries no ongoing per-colour or ink cost.
See it in action
Glossy 3D finish, keyrings & badges
Doming
A digitally printed label is topped with a measured droplet of clear polyurethane resin that self-levels and cures into a glossy, raised dome — full colour underneath a durable, weatherproof shell.
- Best for
- Keyrings, badges, and USB bodies — small giveaways where a premium, glossy finish matters.
- Colour & artwork
- Full colour, printed under the resin dome. High-resolution raster label artwork.
- Typical positions
- A small label footprint, sized to the product.
- Lead time & MOQ
- MOQ is generally low to moderate; the resin dome is water, UV, and abrasion resistant once cured.
See it in action
Your next step
Leave the method to us.
Tell us the product, the artwork, and the quantity. We'll recommend the right method (or combination of methods) and quote in full. Colours and positions included.